OpenCV:seamlessClone泊松融合(Python)
OpenCV3中有许多让人激动的新特性,今天学习记录下关于图像融合相关的函数 。
API解释
Python
1 | output = cv2.seamlessClone(src, dst, mask, center, flags) |
src 目标影像,代表的是子图
dst 背景图像,代表的是母图
mask 目标影像上的mask,表示目标影像上那些区域是感兴趣区域
center 目标影像的中心在背景图像上的坐标!注意是目标影像的中心
flags 选择融合的方式,目前有NORMAL_CLONE、MIXED_CLONE和MONOCHROME_TRANSFER三种方法
- NORMAL_CLONE: 不保留dstination 图像的texture细节。目标区域的梯度只由源图像决定。
- MIXED_CLONE: 保留destination 图像的texture 细节。目标区域的梯度是由原图像和目的图像的组合计算出来(计算dominat gradient)。
- MONOCHROME_TRANSFER: 不保留src图像的颜色细节,只有src图像的质地,颜色和目标图像一样,可以用来进行皮肤质地填充。
output 输出图像
示例代码
1 | # coding:utf-8 |
使用图片
sky.png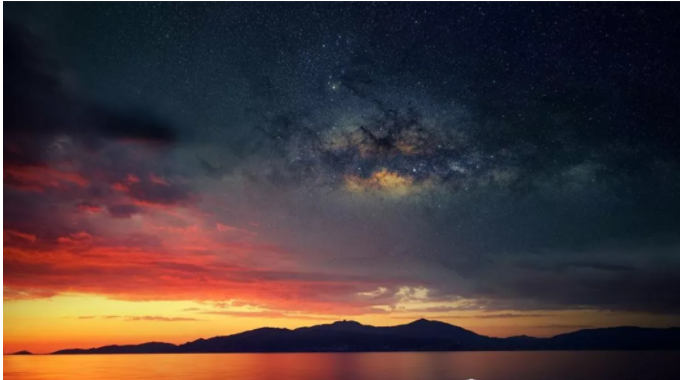
plane.png
NORMAL_CLONE 融合的效果
MIXED_CLONE 融合的效果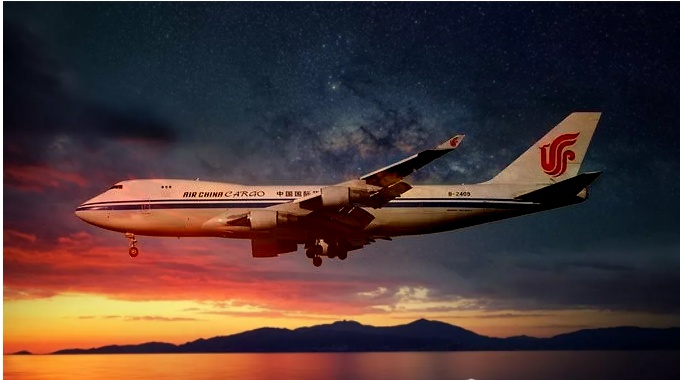
MONOCHROME_TRANSFER 融合的效果![]()
图片是参考别人发的,可能选的素材的问题,NORMAL_CLONE,MIXED_CLONE 这两个感觉合并后差别不大
参考